A Complete Guide To Building A Home Recording Studio
Table of Content
On the other hand, the latter seems to be luxurious. As you go into the world of audio recording and music production, you’re going to have to deal with a lot of files. You may think that your computer has enough storage. Or maybe you’ll naively believe it’ll be enough to rely on cloud storage. Even if you don’t plan on recording, having a dedicated audio interface will help you with lower audio latencies – especially when you use many virtual instruments and plug-ins on your DAW. The beauty of the “rack system” is…it allows you to mix-n-match your recording studio equipment, so you can customize your routing and signal flow however you like.
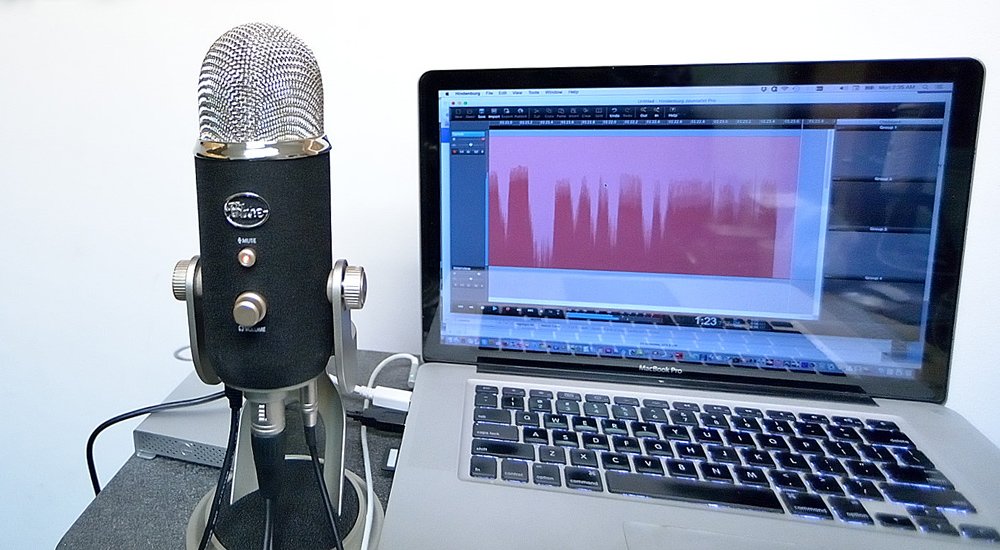
Acoustic Panels – Common acoustic panels you’ll see in home recording studios to absorb general frequencies. They work, but use them sparingly, not to overkill the sound in your room. The type of microphone to buy will also depend on what you plan on recording. Generally, condenser microphones are often used to record vocals and single instruments like an acoustic guitar, while dynamic microphones are better for recording drums. A condenser microphone sounds more broadcast-ready, because of its warm, full-bodied sound.
It’s best to have studio monitors or studio headphones
As a solo producer, you probably don’t need one yet. Because studio monitors will be one of the more expensive gears you would buy for your studio, it helps to choose one that suits you. Generally, a condenser microphone makes a good start because you’ll be able to tackle more audio and music projects with it.

I’ll add to it over time with new gear that comes out so you might want to bookmark it. Logic, Cubase and Pro Tools are the main popular DAWs supporting Eucon. Others only run in Mackie Control if they support that, giving no more control than much cheaper alternatives of similar build quality. Cheap internal components and louder fader motors and movement than some more expensive control surfaces.
Home Recording Studio Setup [8 Essentials You NEED]
There are several budget microphones available, but I would recommend the MXL-990. At $70, it simply can’t be beat, especially considering it comes with its own shock mount and mic stand adapter. Your needs in a home recording studio must come first. Prioritize what you need, and the above will serve as a guide for most readers. A 2 channel audio interface that can accept input from both a microphone and an instrument is a must.

It’s a combination of the gear, the acoustics and the most important ingredient, the skill-set of the mix engineer. It’s important to be realistic about the purpose of your home recording studio. Learning to mix to the same standard as professional mix engineers is unlikely for most artists. Unless you’re recording and mixing 8 hours a day for many years, you’ll most likely suck.
Proper soundproofing is great but super expensive
When recording at home, you should use cardioid microphones wherever possible. They block sound from the back, making them ideal for less-than-ideal settings. Learn how to record, edit and create audio for broadcast and commercial projects from home, with your USB condenser microphone.

To maintain a symmetrical stereo image, it’s best to position the speakers in the middle of the wall. Position your speakers the minimum distance from the wall . Then, if you can, reduce the bass on your speakers. But once you set up your speakers, they’re gonna stay there. Before you consider acoustic treatment, you need to make sure to organize your room in the right way.
#4. Microphone stand
Due to this property, they are mainly used in control rooms. It is the type of flooring that you will see in most of the pro studios. And they are also mainly used for recording rooms. Having more space inside the room will provide the needed space for natural reflections to occur, making the recordings sound natural.
When I say it’s long, I mean super long, bigger than my …. Feel free to skip parts that you’re too lazy to do. I’m going to give you a real practical guide on how to make a killer home studio without skipping crucial steps. Does anyone know how to connect all these synths together using midi and a mixer with a PC DAW.
The first thing we need to do is absorb unwanted sound waves inside the room, which can ruin the records. The soundproofing process ends here, and let’s move on to the next important step. All you have to do build a new layer of the wall over the original by adding a sub-layer between them. What you could do is remove the normal glasses and replace them with soundproof fiber glasses.
The extra mic emulations in the vintage edition make it worth the extra cost to me alone. It is fairly flat and neutral but comes with software to change it’s tone to emulate lots of different microphones. All microphones have a different frequency response. That frequency response will either sound flattering on the vocalist or bad. That makes it the cheapest desktop interface for both Mac and PC for serious sound engineering and mastering as the sound is much more open and clearer than the Apollo Twin in my opinion. The Apollo Twin is darker with less treble and less detail whereas the Apogee Duet sounds much brighter and more open for monitoring .
Unless of course, you’re under 5.5 feet tall and your desk is the standard 29 inches high. In that case you’ll probably need the Recoil Stablizers instead as well as a slide out typing keyboard tray as your desk is too high for you. If you’re going to be placing studio monitors on your desk, the best pre-made desktop stands at the moment are the Iso Acoustics stands and the Primacousitc Recoil Stabilizers. I noticed these are also the studio monitors in the more money than sense home studio photo from earlier lol. More expensive isn’t always better for mixing on.


Comments
Post a Comment